There are so many things to love about this card.
1. It's made from paper I want to use up.
2. It's easy to make.
3. It doesn't require a ton of supplies. - Well you might already own some of the supplies or you can improvise.
4. It's an interactive card. Who doesn't love that?
The other day I went through paper I had been hoarding for a long time but know it is time to get rid of it. It was 8 1/2" X 11" colored card stock. I turned on YouTube and started cutting and scoring. Now I have 3 baskets of colorful card bases. I have a bunch of 12" X 12" paper I'd like to use up as well. For my card base I grabbed one of my top folded card bases in white. To cut one you'll cut a piece of 8 1/2" X 11" paper in half at 4 1/4". Then score it at 5 1/2".
I took a piece of hot pink card stock and cut a piece 4" X 5 1/4" to mat my Reveal Wheel panel.
Cut down two contrasting (lavender) card stock 4 1/4" X 5 1/2" pieces for the Reveal Wheel panels. Die cut them from the Reveal Wheel die set: once with the large opening that comes in the set and once without.
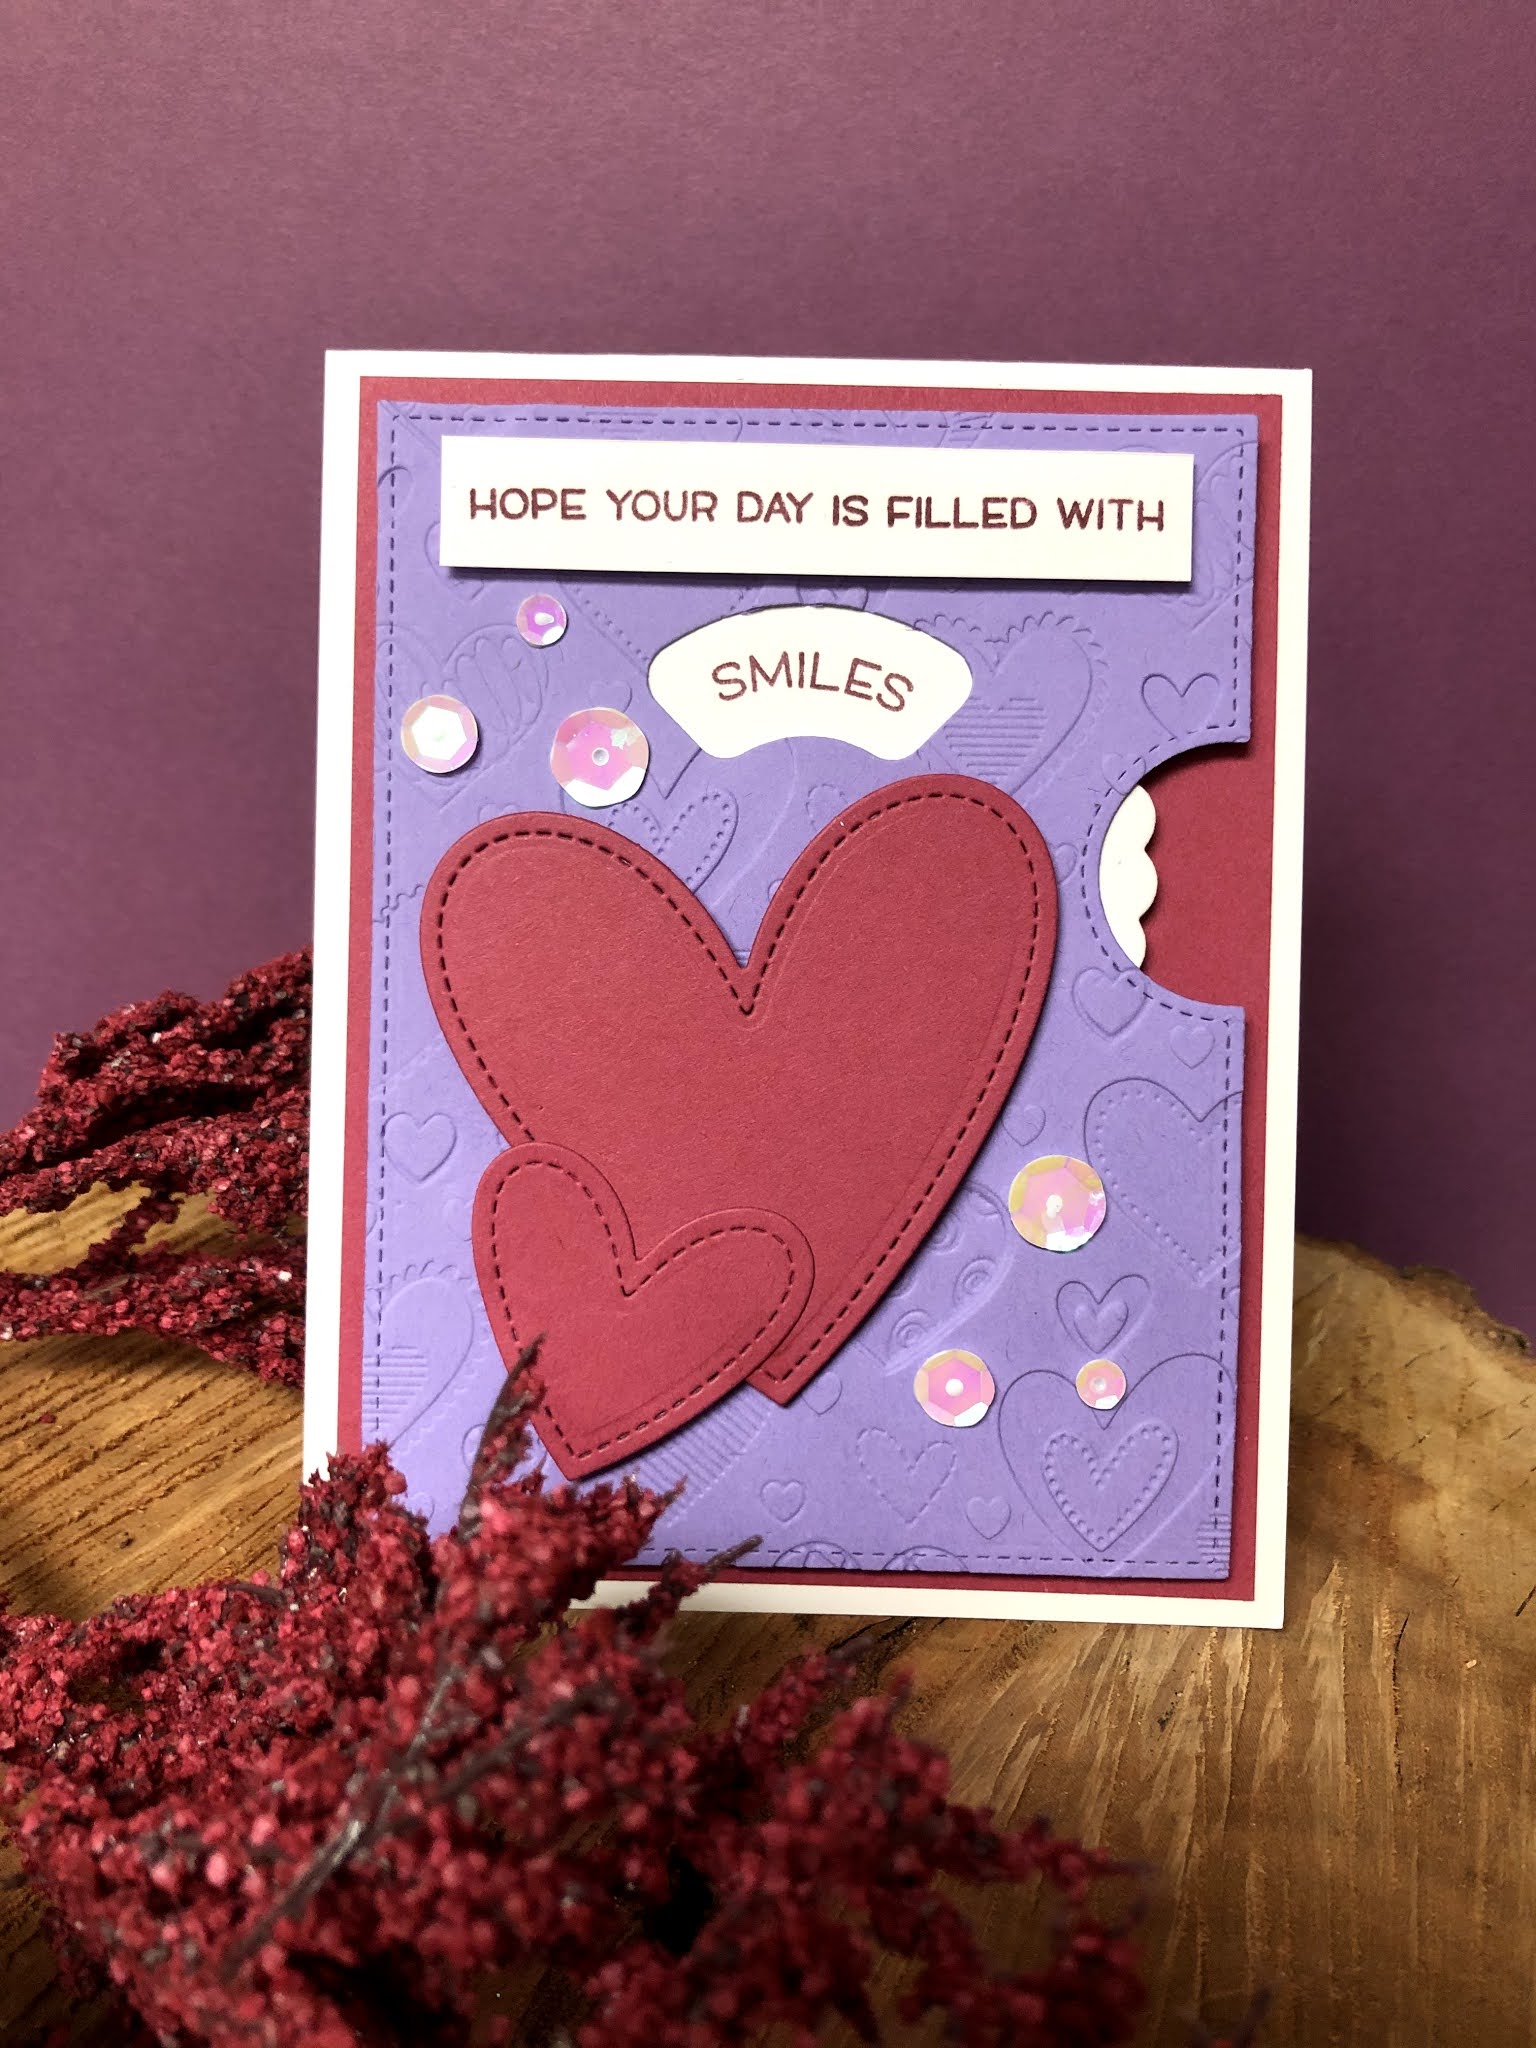
From a 4" X 4" piece of white card stock, cut out a reveal wheel and small circle from the Reveal Wheel die set. On the remaining piece, stamp a sentiment. I used two sentiment stamps from the set Reveal Wheel Friends & Family Sentiments using the Misti stamp platform. I was able to line the stamps up perfectly and I stamped it multiple times to get it uniformly stamped and dark enough.
To add some texture and interest to the simple design I decided to dry emboss the top card panel. I used a 3-D Textured Impressions Embossing Folder from Sizzix. You can use any embossing folder that goes with your card. This design is so simple. You could swap out stars for the hearts. Or any other basic shape. So literally you can use what you already have. You just want to make sure you cut out your top Reveal Wheel panel before you dry emboss it. If you dry emboss first you could smash out the texture you just put in the card stock. Also, for a similar effect you could use the same color ink as your card panel and stamp the panel with a background stamp. It will add more dimension to your card. If you don't have a background stamp, that's ok, crinkle up some tissue paper, newspaper or junk mail and pounce some ink on your background. Or use bubble wrap.
Here's some advice. Really think about which direction is up when you're embossing or stamping.
I had to start over. Also, everybody's machines are a little different. You'll need to figure out your sandwich. You can start by following your manufacturer's recommendations. You lost your book? Google it. I used a Sizzix Big Shot, Tab 1 with 1 Plate for a good impression. I think it could have been deeper but it was fine.
Decorate the front panel. I cut two hearts out of the hot pink card stock that I used to mat the reveal wheel panels. I used my paper cutter to cut out the sentiment. I used dimensional tape to raise it up and adhered it to the top front of the card. I also attached the two hearts using dimensional tape. I only put tape on the bottom of the smaller heart but used glue at the top of the smaller heart where it would be sitting on top of the larger heart.
Next let's work on the wheel. Put a small brad through the small circle with the Reveal Wheel on top. You can put the Reveal Wheel Templates: Build-A-House template, that matches the window shape, over the Reveal Wheel. Open the Brad to secure them together. Pick the sayings that you want to be revealed through the window, center them in the windows of the template and stamp them.
Cut small pieces of dimensional foam tape and adhere them to the small circle on the back. Make sure not to tape over the brad or to the large wheel. To attach the wheel to the back panel hold the wheel with the template still attached up to the front panel, matching the windows. Turn the panel over and remove the paper from the back of the adhesive. Turn it back around to make sure it's all still lined up. Then match the front and back panel and press the wheel into the back panel.
Open up the brad and remove the template. Place the prongs of the tweezers on either side of the brads and fold the prongs of the brad over. Pull the tweezers away. This will leave a bit of a gap and allow the wheel to move better.
Adhere dimensional double sided tape around the wheel but not touching the wheel. The dimensional tape will hold the wheel away from the card allowing it to spin.
Remove the backing from the tape, align the top and bottom panels and press firmly together.
Finishing Touches: I used sequins sent to me in a stamp order to finish my card. They are iridescent and picked up the colors in my card nicely. You could use buttons, sequins, gems or anything you have that matches your paper and theme.
Supplies
Lawn Fawn Reveal Wheel
Lawn Fawn Reveal Wheel Friends & Family Sentiments
Reveal Wheel Templates: Build-A-House
Sizzix 3-D Textured Impressions A6 (663628)
Lawn Fawn Stitched Heart Stackables
White Card Stock
Hot Pink Card Stock
Lavender Card Stock
Hot Pink Ink
3D Foam Tape
Mat Glue
Paper Cutter
Die Cutting and Embossing Machine
Sequins
Misti Stamp Platform
Acrylic Blocks
Tweezers


No comments:
Post a Comment